
205 words
2 minutes
Installing Arch on a Vintage Laptop [Pinned]
Gemini 2.5 Pro
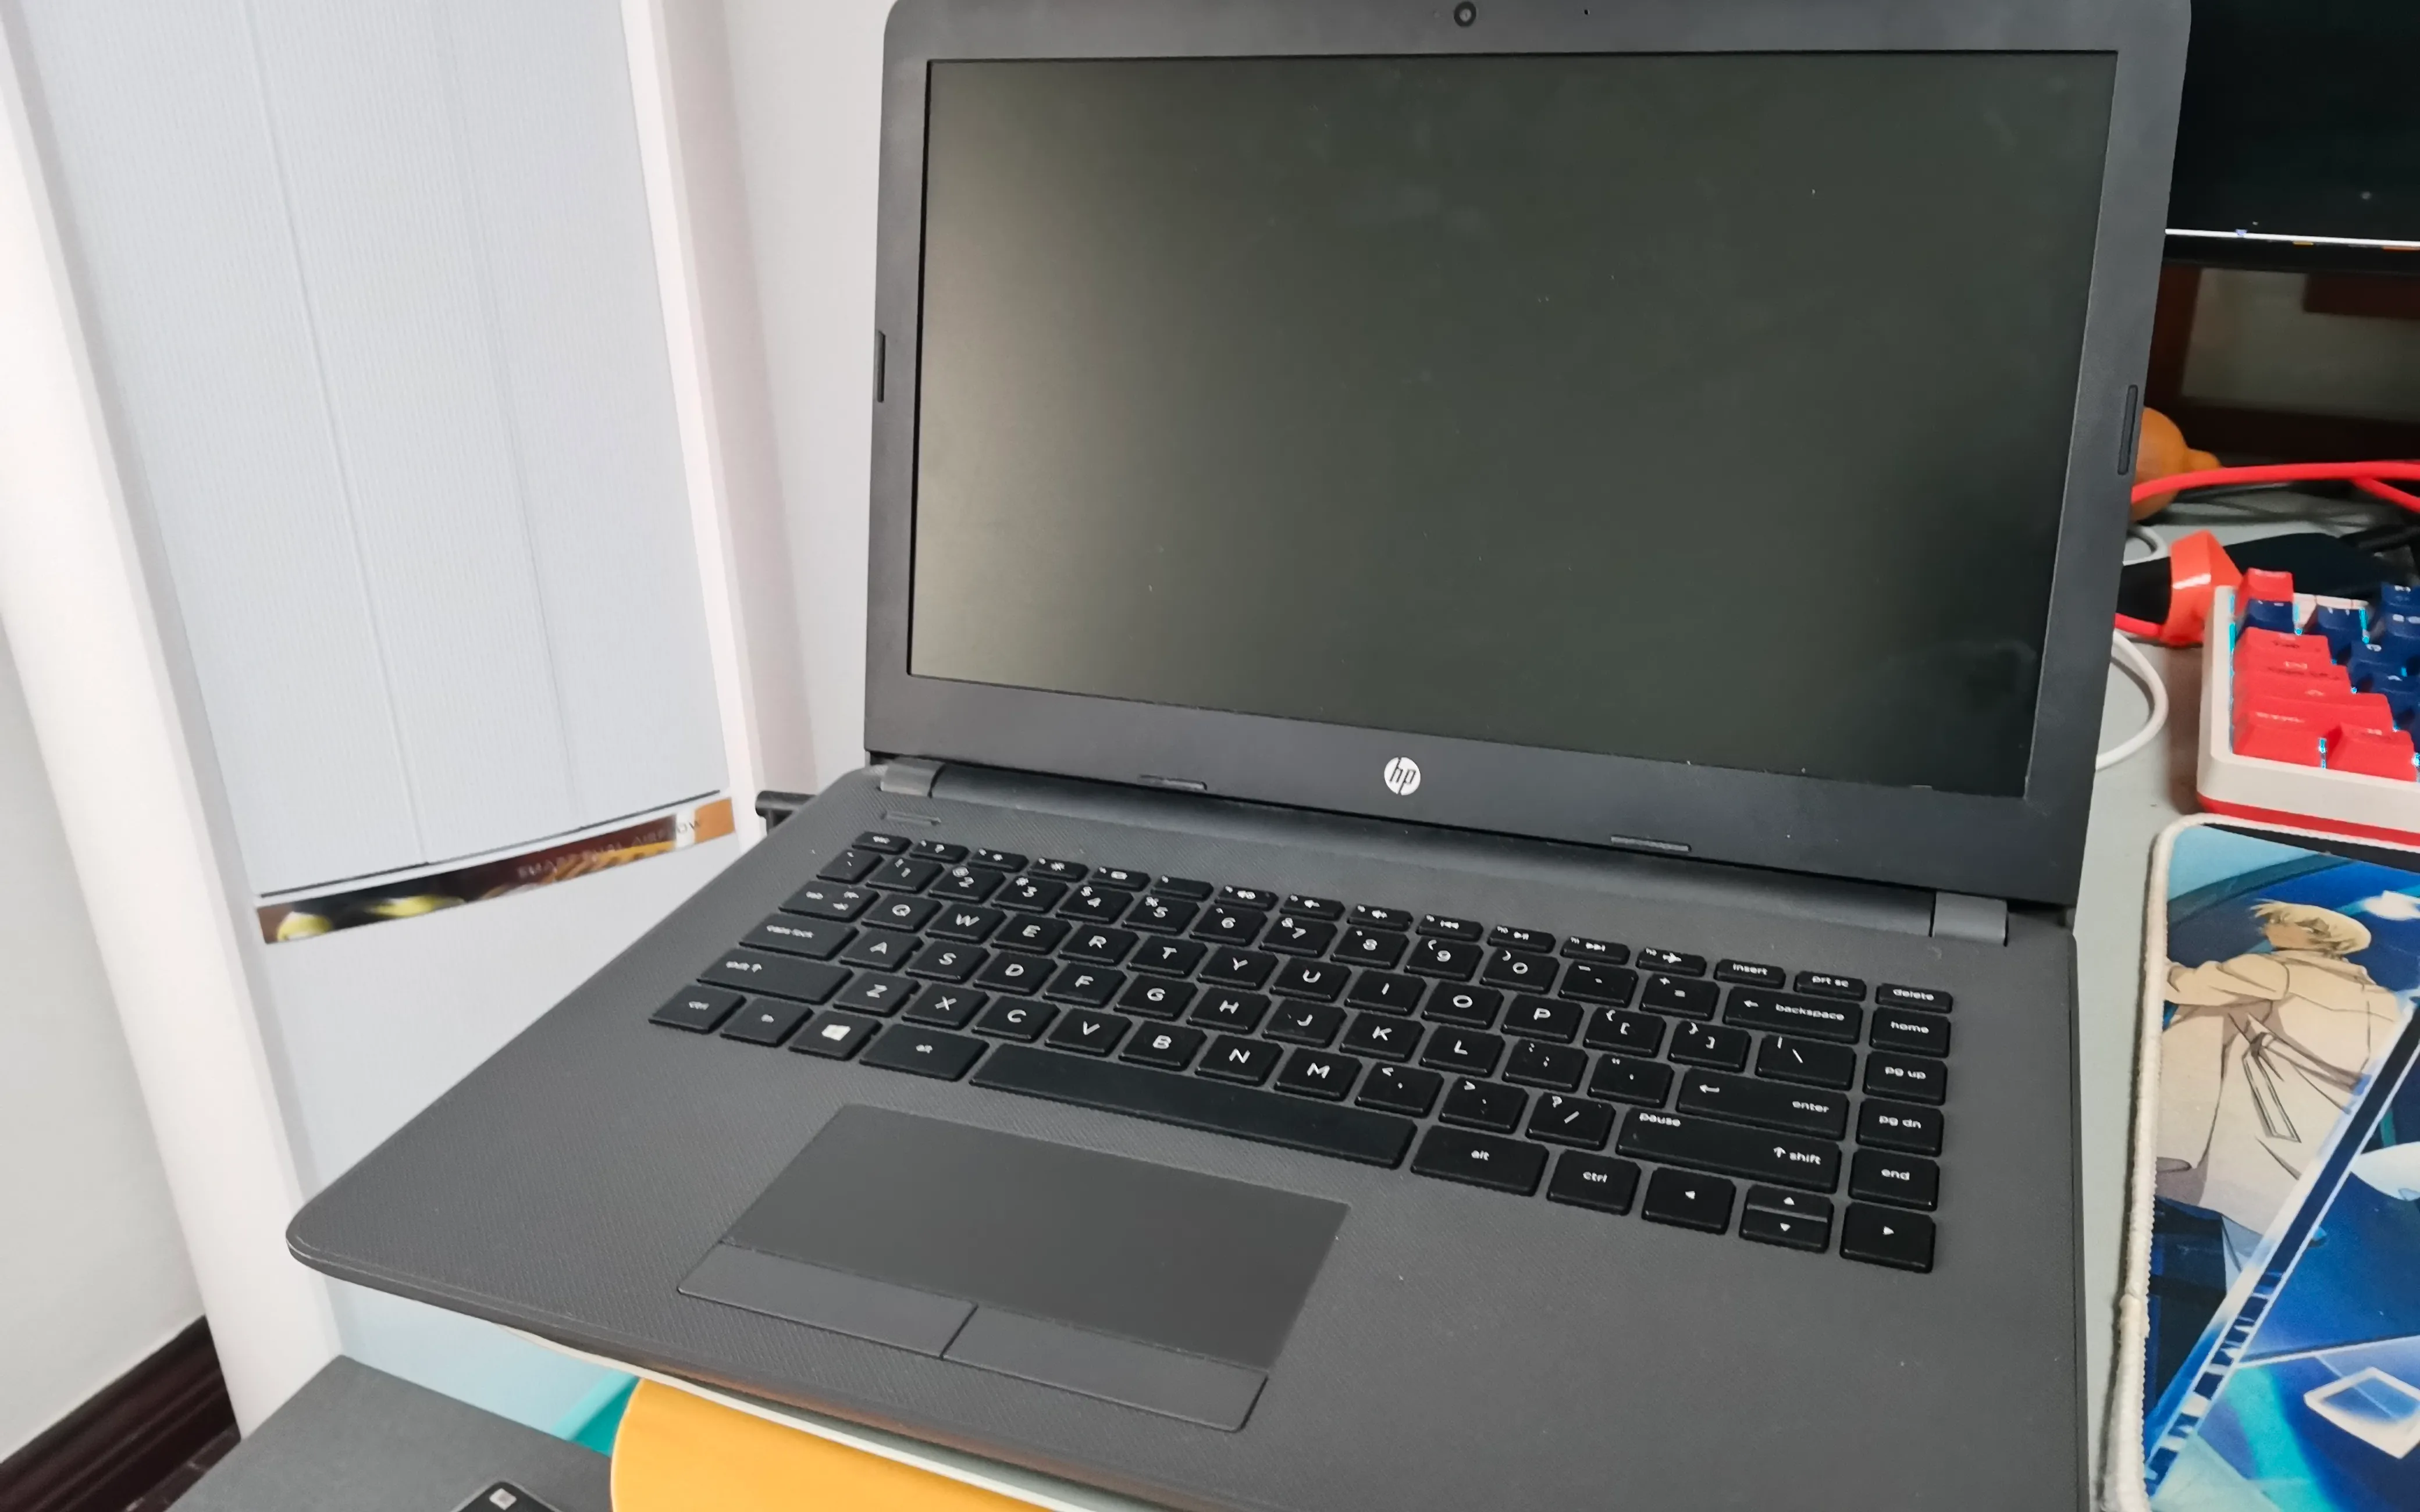
It started when a classmate gave me a laptop from 2017 with terrifying specs to ‘optimize’. It took 5 minutes just to boot up… so I decided to install Arch. I’m sure they’ll be very grateful.
Specs
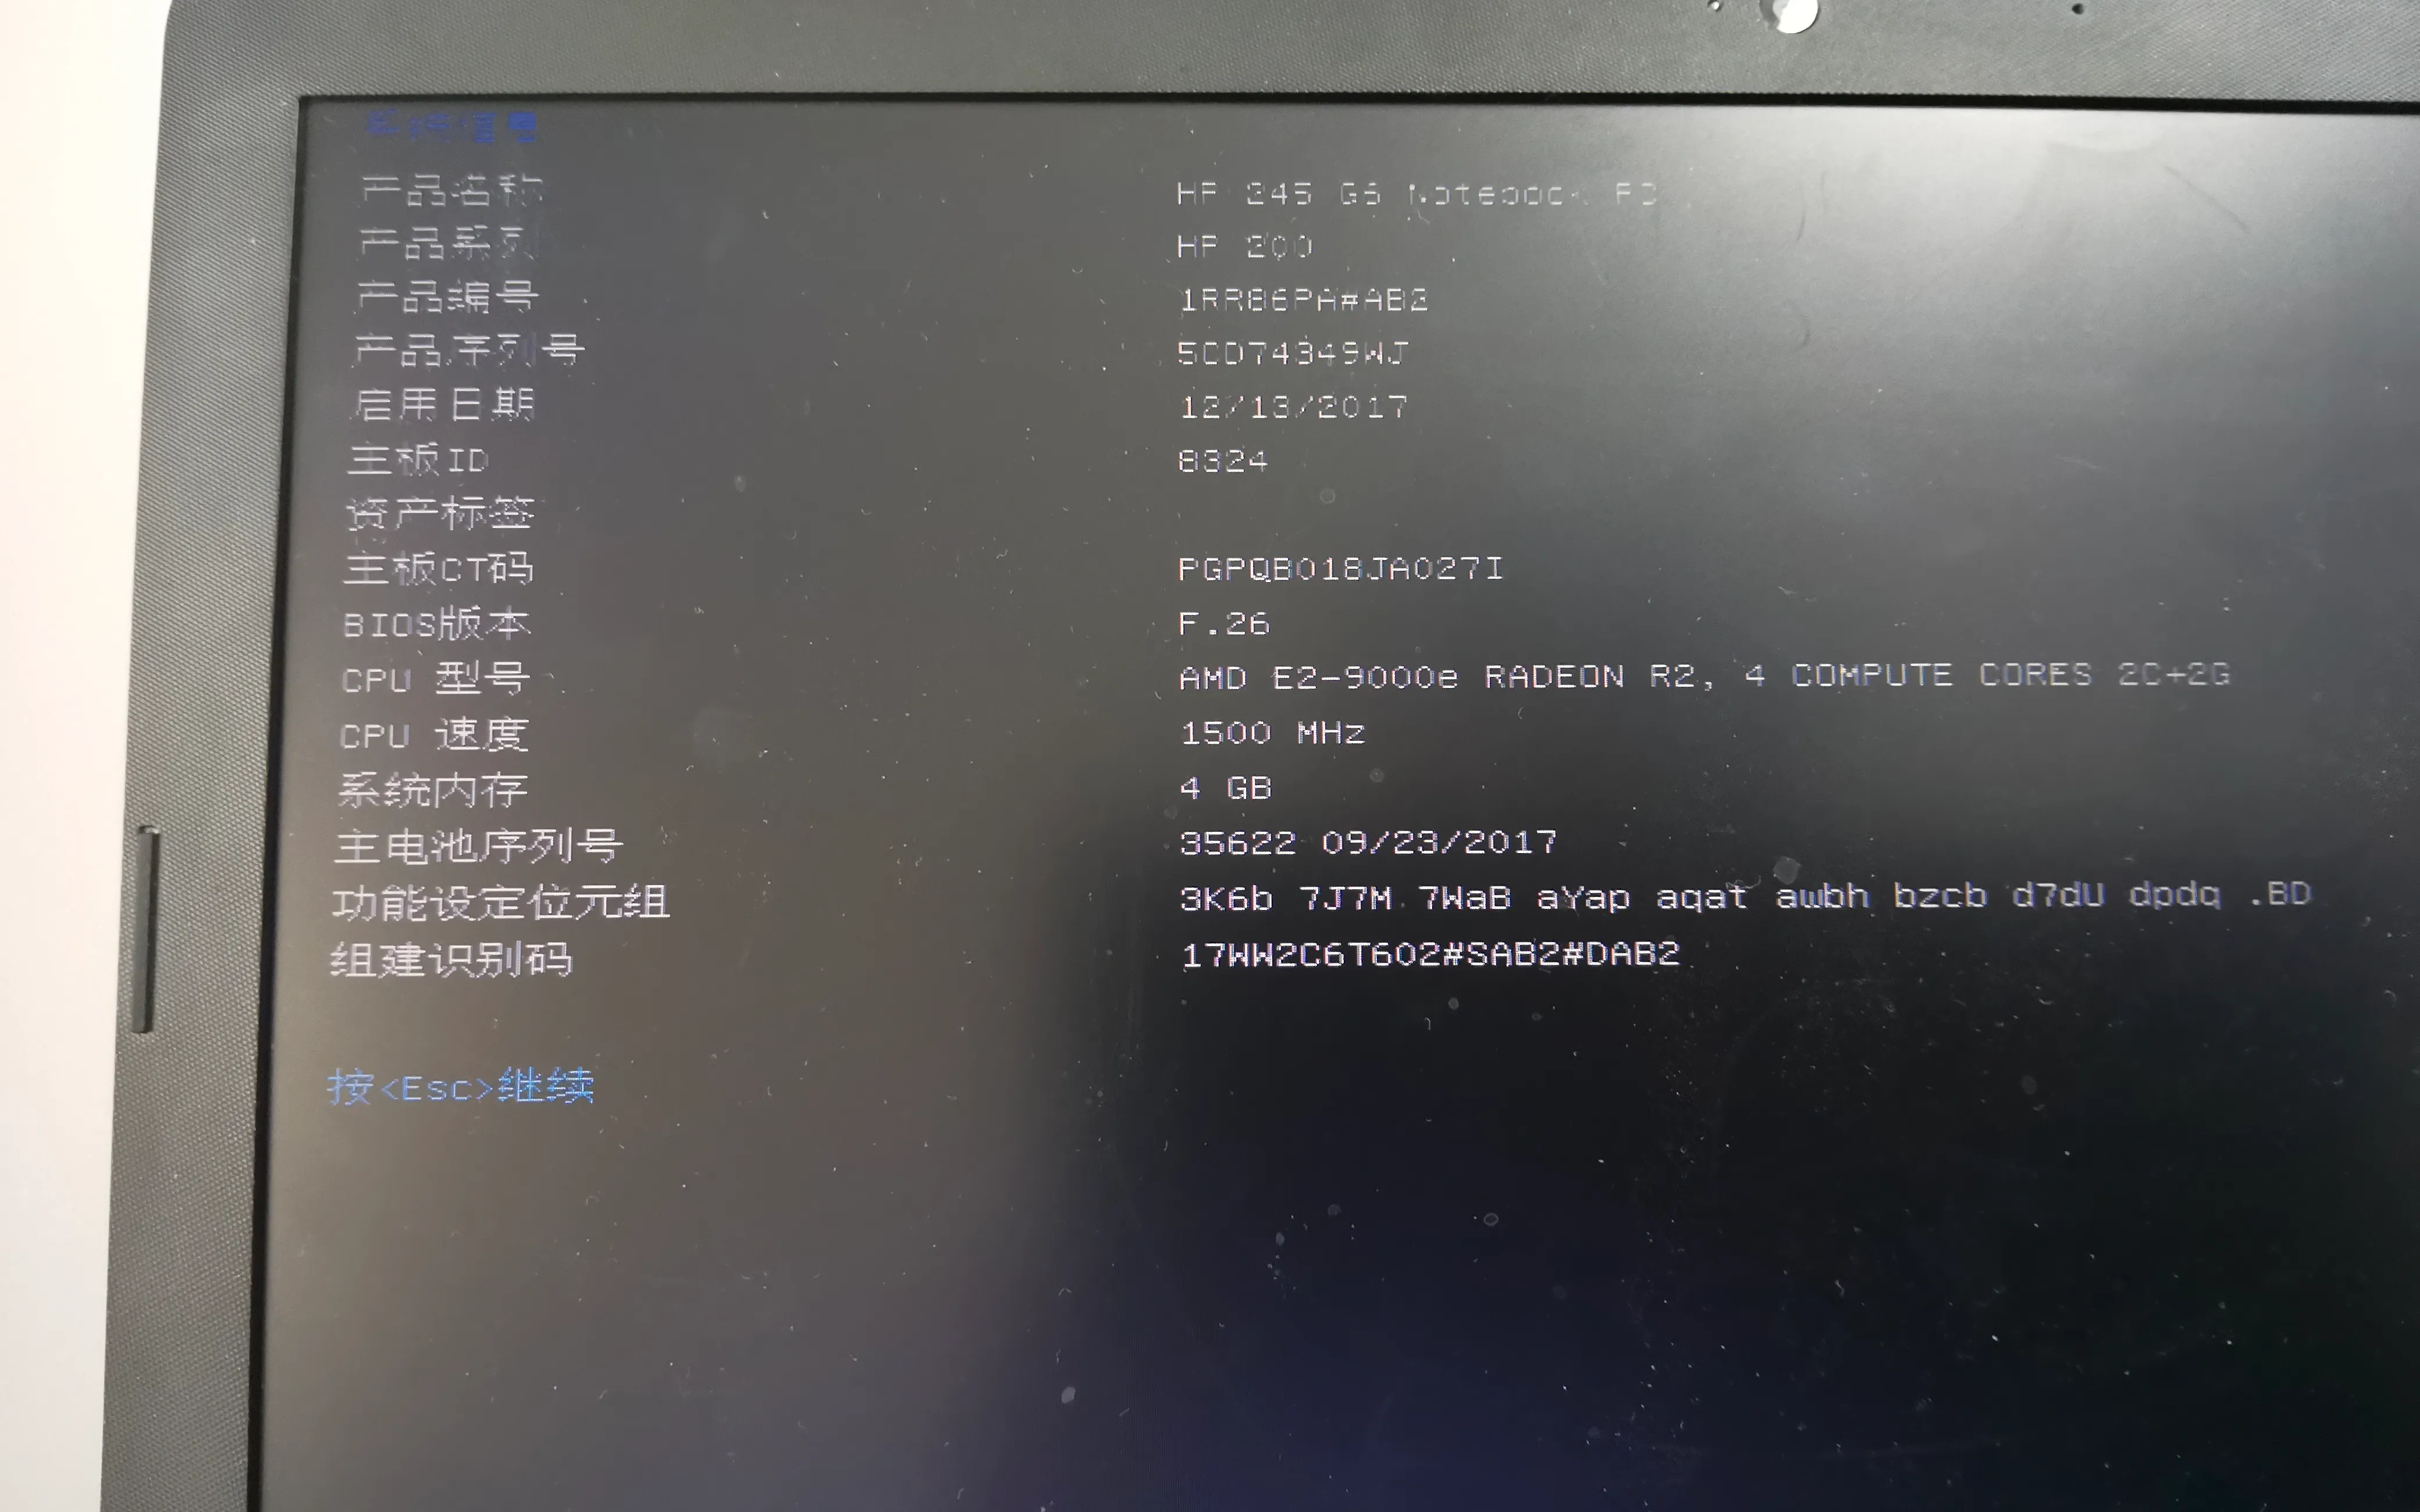
Looks ridiculous, right? 4GB RAM is one thing, but that CPU at 1500Mhz…
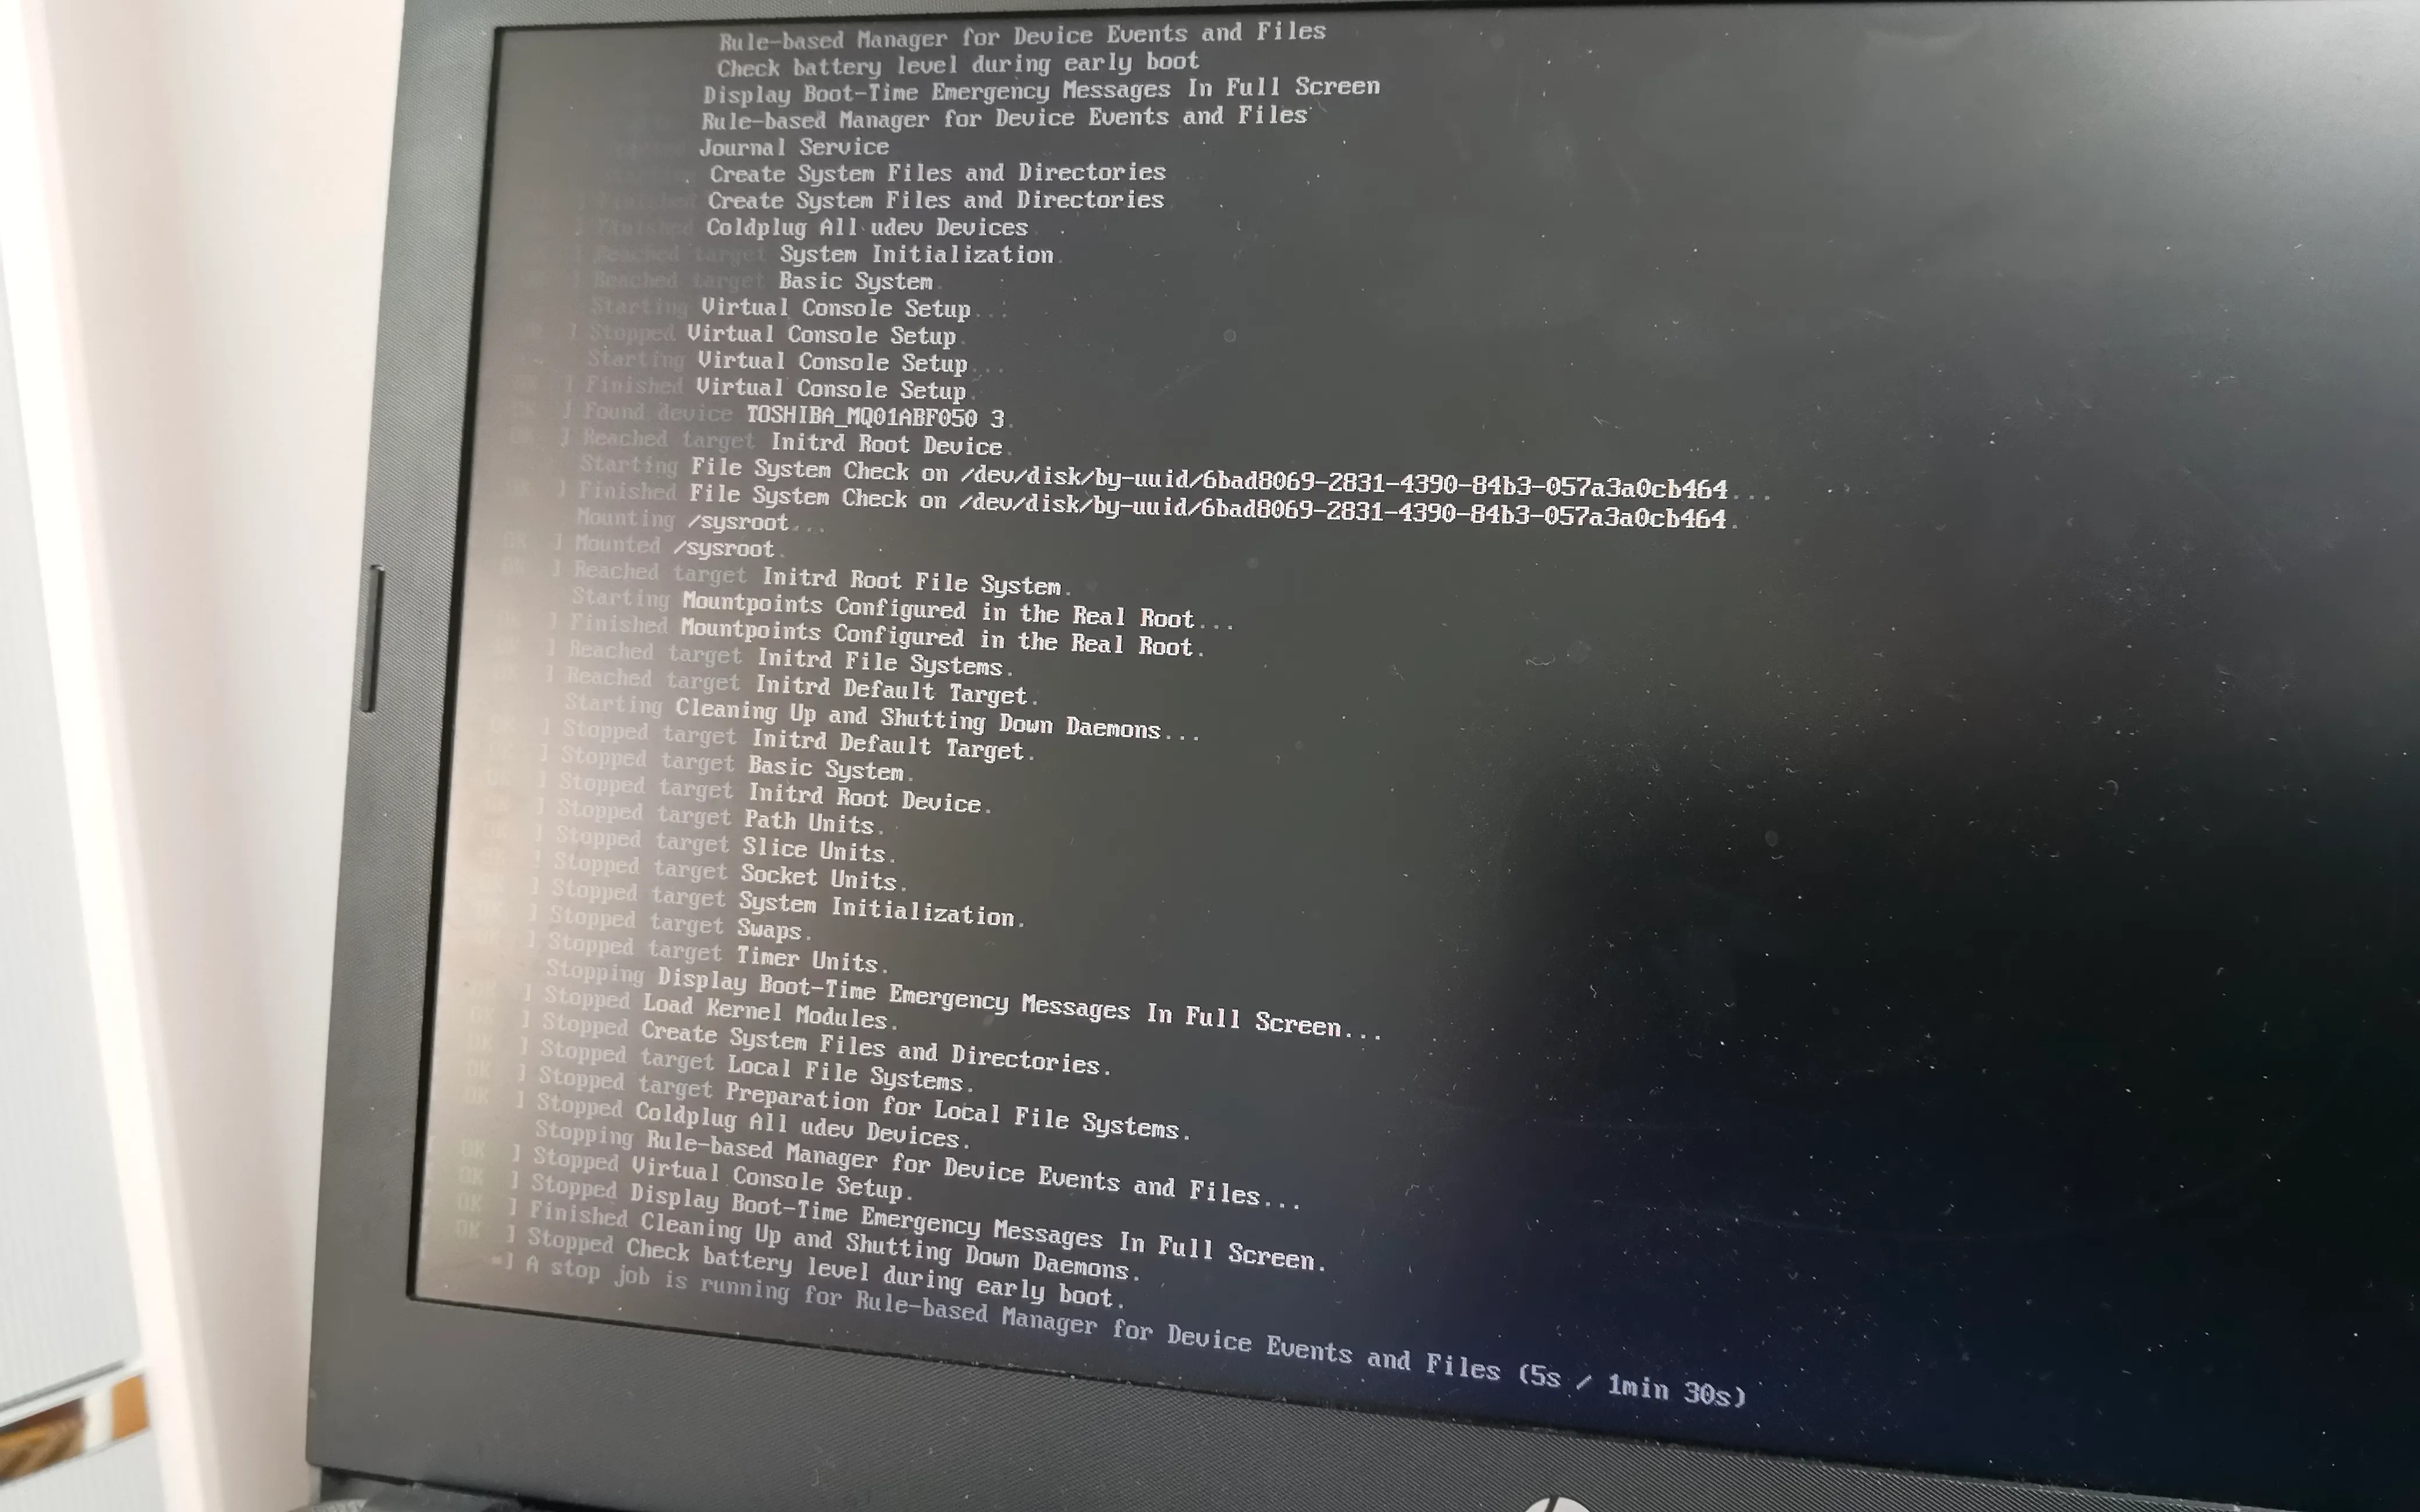
Anyway, a job is a job. But how do you install Arch on a machine that takes 5 minutes to boot?
The Unconventional Way
First, we need an already installed Arch system. I used the drive from my main workstation.
P.S. Make sure fstab uses UUIDs!
You probably guessed it: rsync to the rescue!
- Partitioning
cfdisk /dev/sda# 512M for boot, 4G for swap, rest for root.mount /dev/sda3 /mnt/mount /dev/sda1 /mnt/boot/swapon /dev/sda2- Syncing
rsync -avx --exclude=/dev/* --exclude=/proc/* \--exclude=/sys/* --exclude=/tmp/* \--exclude=/run/* --exclude=/mnt/* \--exclude=/home/Projects/* \--exclude=/home/Games/* \--exclude=/lost+found / /mnt/- Configuration
genfstab -U /mnt > /mnt/etc/fstabarch-chroot /mntgrub-install --target=x86_64-efi --efi-directory=/boot --removablegrub-mkconfig -o /boot/grub/grub.cfgIt’s an Art Form!
Bug Fixes
- Sound Driver: The driver was there, but the default output was set to HDMI. Fixed by editing
/etc/asound.conf. - Performance: Installed AMD GPU drivers and CPU microcode. It’s still slow, but that’s just the hardware.
Summary
The vintage laptop is now running Arch. It’s not exactly ‘smooth’, but the experience was worth it. Tinkering is fun!
Installing Arch on a Vintage Laptop
https://wtada233.top/en/posts/laptop-arch/ Last modified on 2025-11-23,50 days ago
Some content may be outdated
0 Comments